The making of a 16th century german hood with silk embroidery
Haube mit seidenstickerei.
The
society of the golden egg is a challenge household for the arts and
sciences in the Kingdom of Drachenwald, within the Society for
Creative Anachronism. The aim of the Society of the Golden Egg is to
encourage artisans to increase their knowledge and skills through
continuous challenges of at least intermediate difficulty, but which
are a personal challenge to the person seeking to join the society.
Challengers normally have up to one year to complete their challenge.
My challenge was to recreate a german 16th century embroidery, a
headgeardecoration from 1510-15. To read more about my challenge
look here. I have also written about my pattern, here, about the tools and material needed for embroidery, here, about the makers and the wearers, here and about the protecting veil that almost always cover expansive embroidery during the 16th century in Germany, here. All the literature I have used during this project is gathered here.
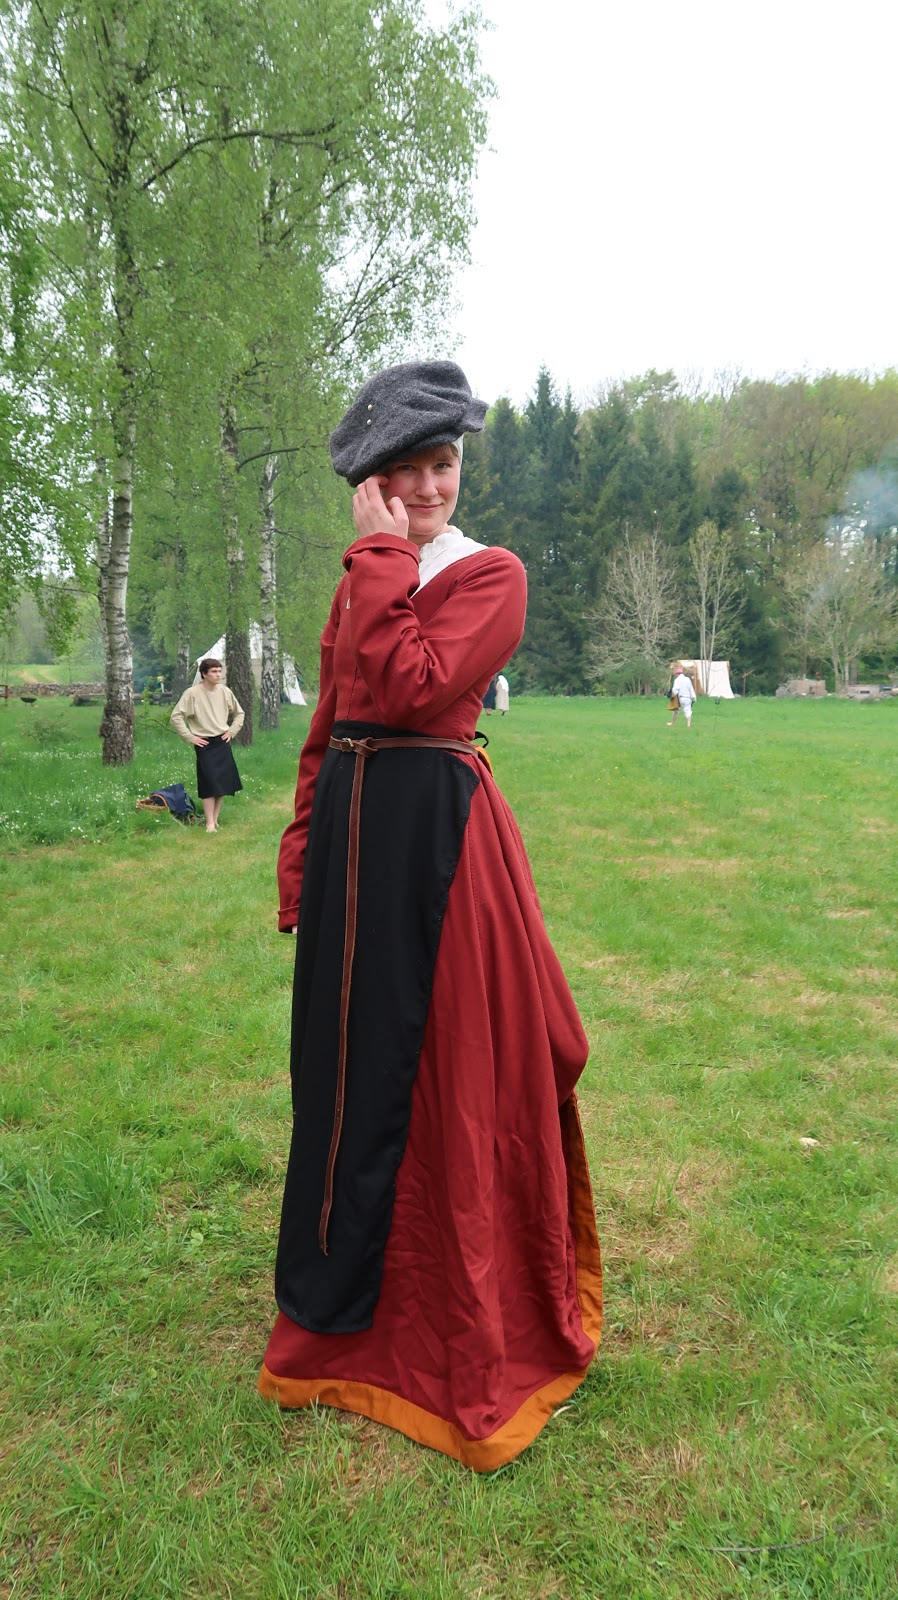
And so, finally, my golden egg- challenge is done. A year has past. And I have done so much embroidery.
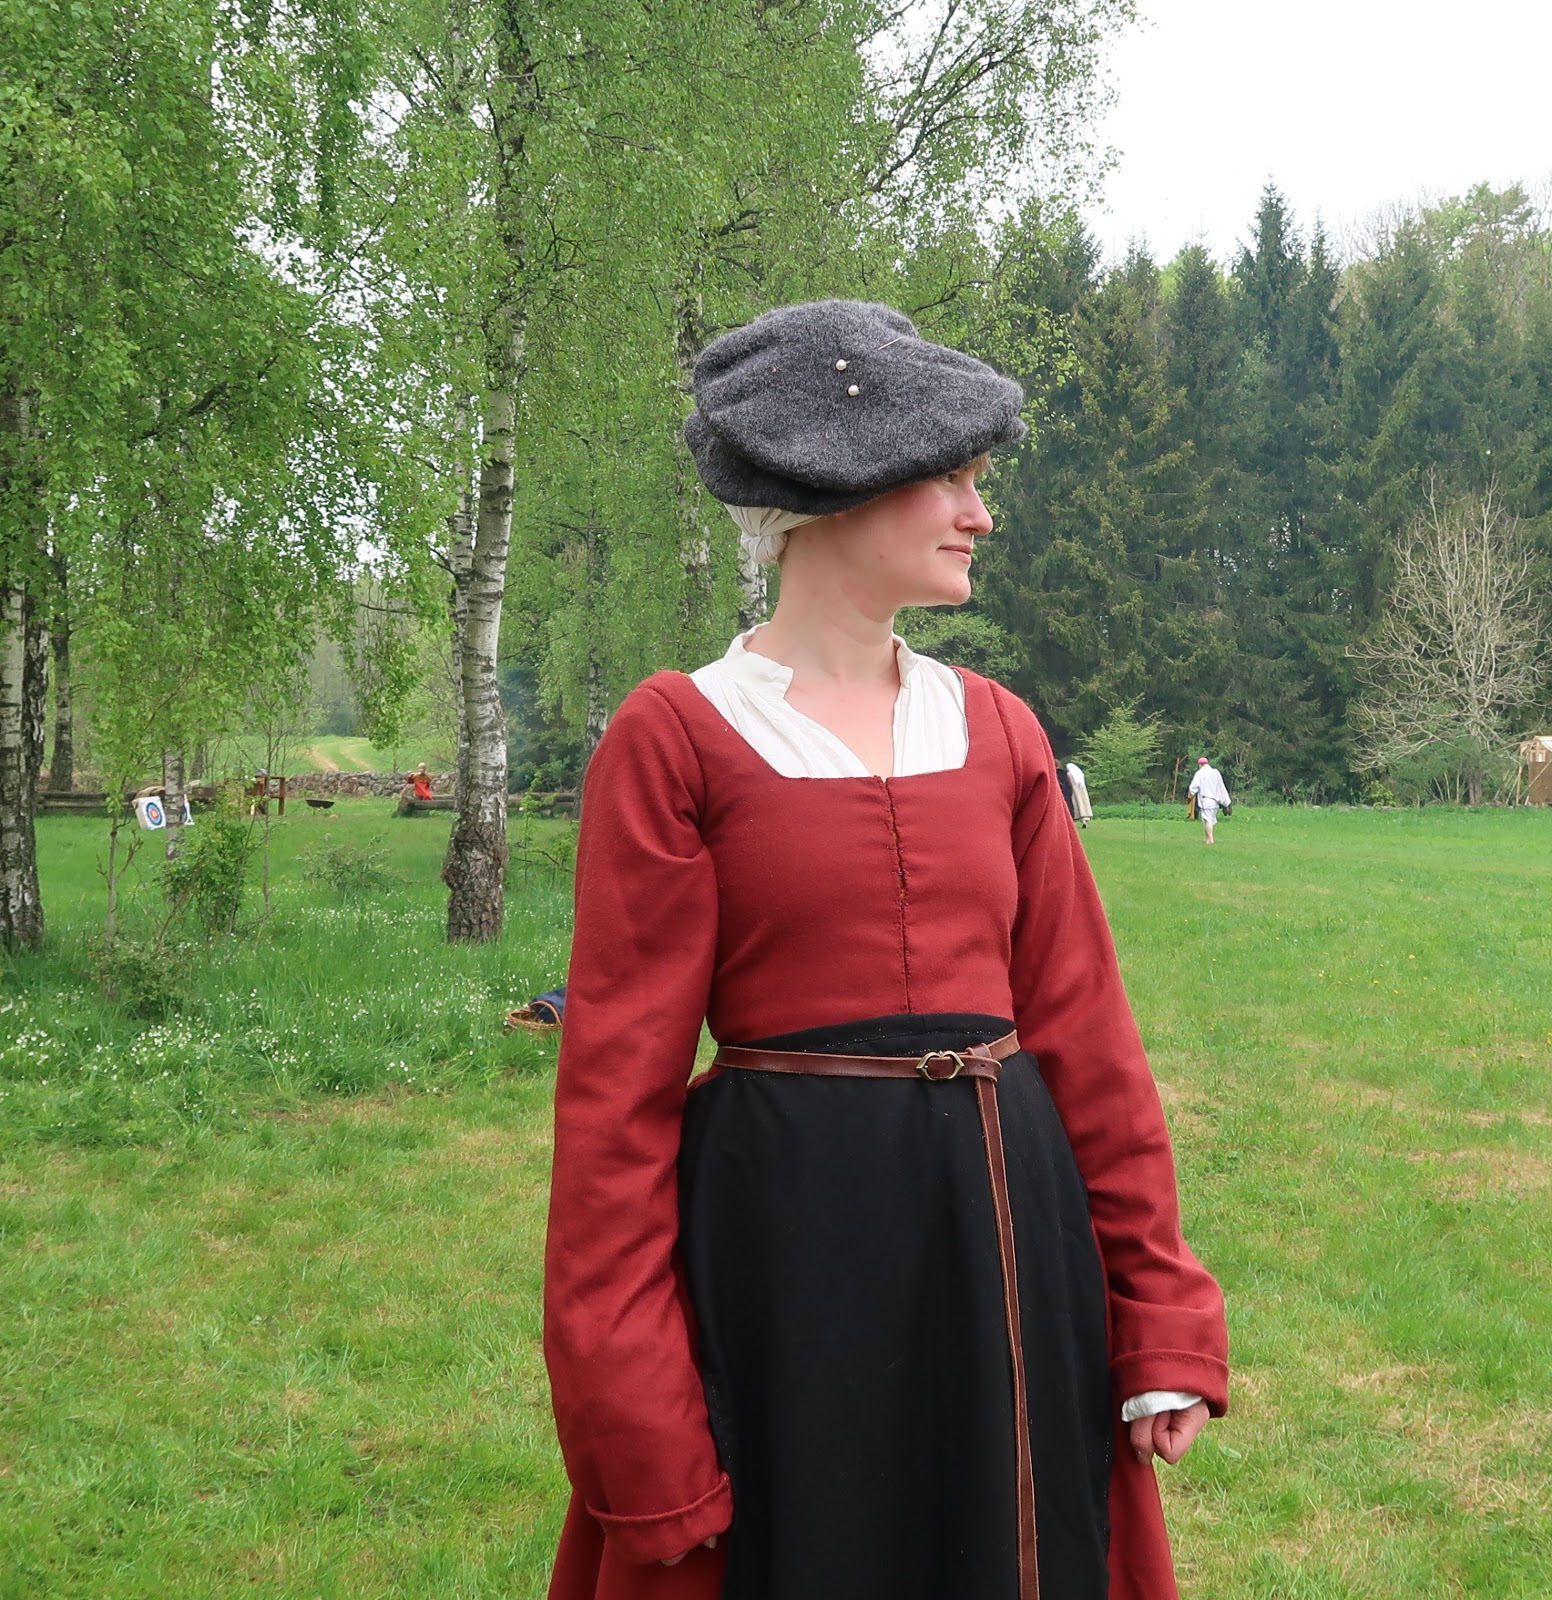
Pictures of me in my new haube is taken by Anders Ragnarsson. Thank you for that!
This is probably the most complicated garment I have ever made. Mostly because it took such a long time. And that I had not embroidered that much before. I started with the embroidery in December 2019 and was finished in March 2020. Maybe quite a short time for something so advanced really? But I don´t think there has been that many days without me embroidering. It was maybe to take on more than one could handle for someone who had not done much embroidery before. But I did it! To put it on for the first time, even when the hood was not completed, was magical.
The aim of the challenge was to encourage artisans to increase their knowledge and skills and I have certainly done so. There were times when I didn't thought that I was going to finish in time. Times of panic! The embroidery was finished by march 8. And the hood a week later.
I have tried to recreate the garment as close to the cap in the painting as I could. There is a few differences though. There are no spangles on my hood, and my challenge did not contain the pearltrimmed top/back so I have not done that part. The woman in the painting might also be a bit smaller than me. I had to make four flowers, from the forehead to the wulst, to cover the same area that she has covered with three. And my wulst has a different shape, hers is a little bit more round.
I think it might look a bit better with the pearltrimming. It looks too white, too plain, compared to the embroidered parts. I might need to do something about that someday.
I don´t know if this embroidery ever existed. Maybe it was made up by the painter to show of the sitters wealth. But now it exists. Now my favorite embroidery from my favorite painting exists. My only problem now is that I don´t have a dress to match the headwear!
The making
I started with a
square piece of linen, 60x85 cm. A bit bigger than I thought I needed, just in case. With the linen threads clearly visible, I could easily make a counted embroidery. The linen fabric is from Medeltidsmode. The embroidery is quite thick so I'm glad I didn't make it as a loose ribbon. It would have been a bit to much to wear on your head, together with two more layers. It might also be to big to stay in place if created as a loose ribbon.
I
started making the flowers, the outlines, in the end of December 2019,
making it almost like a coloringbook for the other colors later. The
outlines are made with double running stitch in black silk, a common
method during the 16th century. One stitch is over four threads in the
fabric.
The pattern is partly made up by me by changing a pattern I found in a handdrawn patternbook from 1759. Its from Augburg in Germany, the
Modelbuch by Johann Tobias and Marcus Luz. There is a lot more information about it in my article about the pattern.
 |
| Pattern from the patternbook from 1759. However, the pattern is in its shape clearly older. |
 |
| My pattern after remaking. |
The
pattern in the picture above is reduced after my first attempt became
too big. So I needed to start all over again. And at this point I still
thought I had a lot of time...
The second try looked much better compared to the size of the embroidery in the painting.
And the "grid" is done! The flowers took about a month to make.
It was tricky to choose the colors. Over
time, the appearance of paintings change not only because of
accumulated dirt, but also because aging itself alters the materials
that make up paintings. Accumulated surface grime and old varnish can be
taken away from the surface during restoration. The Metropolitan museum
of art has a webpage with information about the painting but it says
nothing thought about if the painting has been cleaned. So probably not.
Some of the green glazes appear, according to the website, to have
turned brown with age. The greens were originally much more vibrant. And
it is likely that the rest of the colors also darkened some with age.
So I choose a color scale that is quite close to the current colors, but
just a bit lighter.

My silk comes from
De vere yarns,
Handcrafted history and
Allehanda silk. The black and the green ones are a twisted silk, the red, goldish, white and grey are filament silk. The gold/yellow color is put together by me from three different shades - Glow 085, Conch 087 and Sunrise 008. This was my way to create a light version of the color in the painting. I use two strands out of each colors.
The red color is is made up by Blaze 36204 and Flame 610. Three threads of Blaze and one of Flame. The couching stitch is made with Sterling 098, a supporting linen thread and Armour 118. I didn't want to use black because I used that making the flowers and it looked to me like the couching stitch were lighter than the black parts.
My plan was to use a square frame but my frame was too little for my fabric. So I had to use my modern round frame. That gave me problems with the tension and made it difficult to get the satin stitches tight. It was also a risk to rip up my stitches every time I moved the frame. My needle was pointy, and not round. According to my research it should be round to make it easier to slip between the threads and not split them. But I disagree, I think it was much more difficult. Maybe my needle was to big? And I did split some threads during the process.
After the grid was done I started with the other colors. The green parts are made with satin stitch in green twisted silk. The green parts took me a couple of days, I forgot to count.
The red parts are made with satin stitch in red filament silk. But to make it a bit lighter I changed one of the strands to a lighter one. It also gives it a little bit more life. It took me approximately a weekend to make.
The goldish parts took such a long time! I worked on these stitches for...maybe...a little over a month. Satin stitch done with a made up color, a mix by Glow 085, Conch 087 and Sunrise 008.
Finishing the embroidery with a couching stitch, with a silver-colored main silk thread that is tacked down with a dark grey silk thread. I also put a supporting white linen thread among the main silk. I did that to make it stand out a bit more. But also to help getting the color towards the one in the painting. I don´t have a source for that but it gave the right look so I decided to do so. When you are new to embroidery this is a quite nice way to finish your piece of because it cover some of the bumps. But I assume that they used the couching stitch for the same reason during the 16th century, to hide the quite ugly meeting between the red and the goldish parts, that are not covered by the outlines. This took me two days to make.

There is a few bumps in this embroidery, I promise... I will show you the backside.
I made the binding in the front out of a thin piece of black silk
taffeta, that a friend was kind enough to give me for this project. I don't think it is likely that they would have cut a piece from a larger
fabric. Rather a woven ribbon. But I don't have time to make that ribbon,
so I used a cut piece.
And on top of the binding is a four strand braid in black and white silk. I had problems with the tension and it is not as tight as I wanted it to be. But at a distance I think it look the same as in the painting.
And around it all is a four strand braid in black. I should have put this braid on before the binding. Now I needed to hide the knot of the braid in some other way, instead of inside the binding. I was so eager to make the binding to be able to try it on that I was not thinking...
And the embroidery is done! I filled in the empty spaces below the black braid, it took me a couple of hours.
The white dots I thought to be interpretated as spangles. And I actually ordered a tool from a friend to make my own. But in the end I didn't have time to wait for the tool to be made. So, maybe there will be something I will work out later.
The flowers on her hood is some what irregular, no one is the same. When I decided to make it a counted embroidery I stepped away from that. I chosen to read the irregular flowers as the painters try to make it a bit more lively.
I hated the silk, more then ones...It got stuck on everything.
To make the hood I used the same method as in my latest leinenhaube, except I changed the shape of the fabric. I needed to too be able to get it smooth in the back. It was not as easy as last time! The tricky part was to get the back parts right. Last time I could make that part without having to worry about the front fitting correctly, I just had a lot of fabric there to work with later. This time there was an embroidery in the front, that needed too be in the right spot even after the back part was done.
The fabric is folded and the opposite side from the embroidery is sewn together 5 cm at the base. The seam allowance is folded down and whipped stitched. The upper part of the fabric is then folded into pleats and secured with a couple of stitches at the base.
The hemline is shortened so it goes just around my head. I made eyeletholes so that I could pull it tight around my head.


