...or how to make a 16th century german apron with smock.
Today I have been making another 16th century german apron with honeycomb smock. I took some picture while making it hoping that it could be of assistance to anyone. We see honeycomb smock in a lot of paintings and woodcuts from 16th century Germany. Mostly from the first half. From the paintings and woodcuts it seems like this type of apron in used by the peasant class, bauer in German, and woman of the tross.
Here is Melancolia by Durer from 1514. She is wearing an apron with a smocked lining.

I interpret the smock as honeycomb. The upper part is not a part of the smock. I think its a belt that she wears on top of her apron. Its also around this belt she has a string to her bag and keys.
Here we see a trossfrau with a smocked apron. It is also looking like honeycomb smock. She is probably having a smocked collar as well.
And here is another trossfrau, a seamstress, with smock both on her apron and on her sleeves.
And here is me in an apron with honeycomb smock. I have washed mine in a machine a couple of time and here is what it look like when doing so.
I have made this apron in unbleached linen. White linen was fancy and not everyone could afford it. A white apron is not always that practial either. I cut a square piece of linen, 150 cm wide and 79 cm long. I started with sewing all the sides, except for the lining, by sewing machine. I do so to save some money for the buyer in the end. I already have two aprons and do not need another. I just like making them.
As many of you know when making smock its not uncommon to put little dots where the stitches should be. Im to lazy to do that... So here is my way, the lazy way, of making a smock.
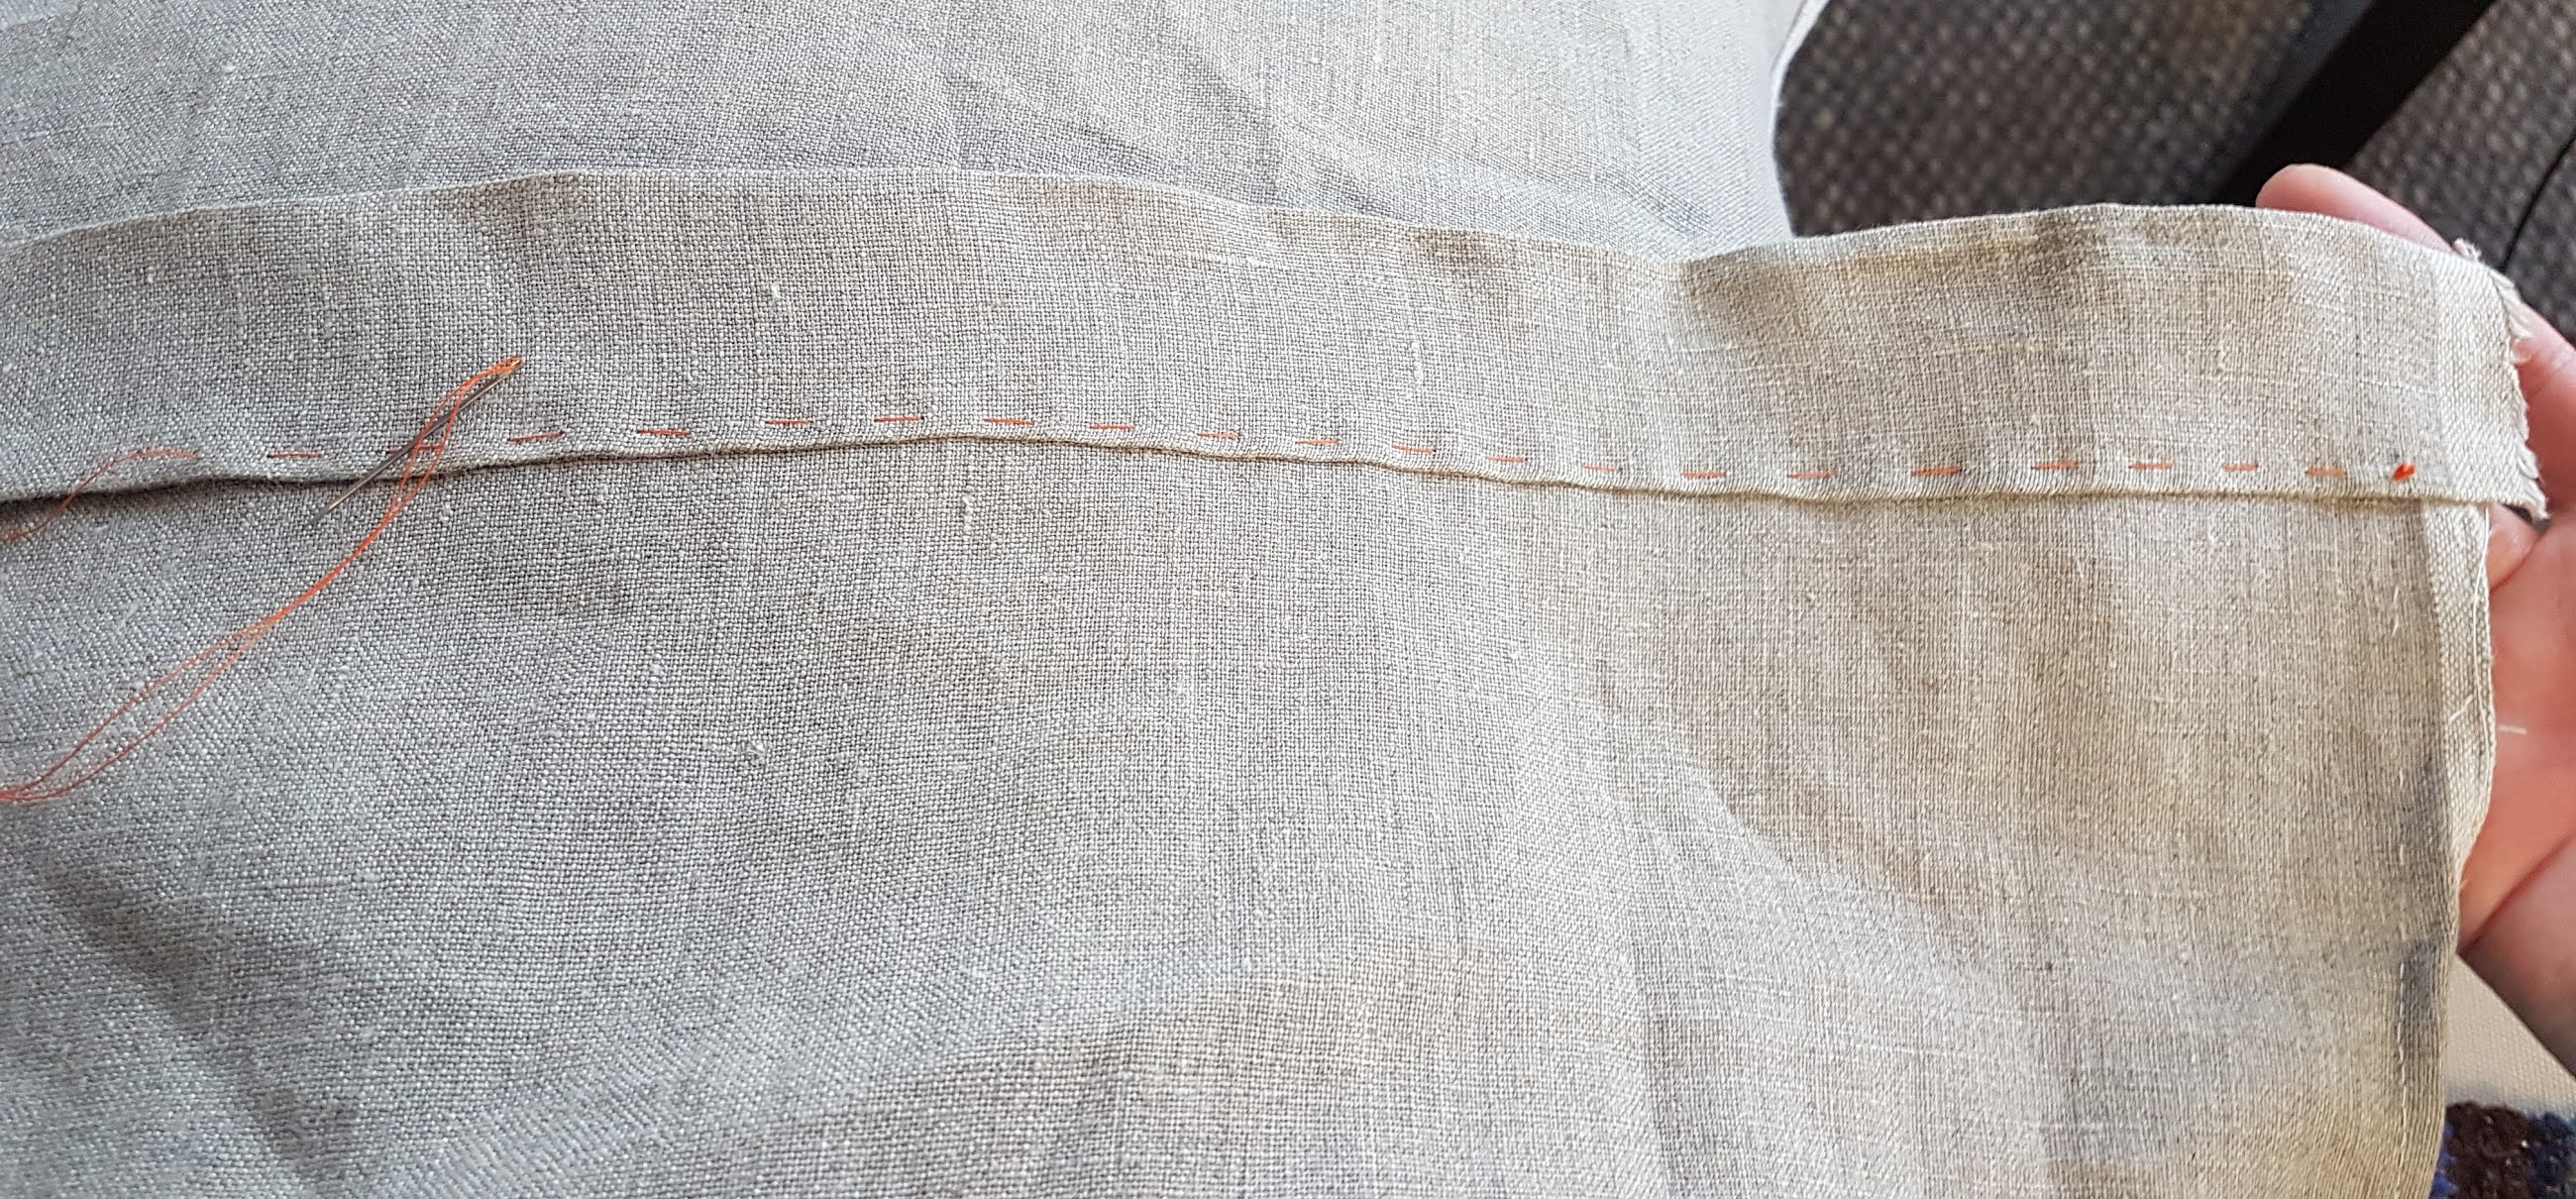
I start by folding the lining down to the right side, first by 8 mm..
...and than 4 cm.
The smock is going to be place on top of the folded part. It makes it more defined I think. I dont know how historically correct this is. I do this while making smocked shirts too. The folds does not need to be stitched, the drawstring will secure it until there is smockstitches is in place.
After I folded the upper part and ironed it down (important) I start making my three drawstrings. I dont measure. I just follow the threads in the fabric. And if it is not exact, it doesn't matter. I make my stitches about 0,8-1 cm long here. Im using a bright orange colour to be able to see it.
One drawstring.
And three..
And when all the drawstrings are in place, tighten them.

Its now time for the first stitch. You are working from the right side. Im using a waxed unbleached linen thread. Not to thin.
The needle goes in from the reverse side of the first pleat. And through the second pleat, 2 mm down into the pleat. Mine are 6 mm from the top. Go back around the two pleats and secure the stitch twice. I did it twice, but that depends on the thickness of the thread. And you have made your first stitch!
When making a new stitch you do that from the reverse side so we need to go through the fabric again, close to the stitch we just did. As you can see here I made some more, but that is just because I forgot to take a picture of where to put the needle down.
The needle is now going up again 1 cm under the first stitch, in pleat number two. You can see in this picture where the thread is coming up, and where the needle is placing the next stitch. Through pleat number three, 2 mm down into the pleat. And go back and secure the stitch twice. And then back up to the first row again...
So, up on pleat number two and through pleat number three. And tightened.
The needle help you get the stitches on the right level. In the picture below you see that the needle is leveled with the stitches in the same row.
And now you keep working with these two stitches until the entire row is done.
If you are unsure that your stitches are on the right height you can fold the smocked part and compare.
First two rows are done!
Time to start the next row, from the beginning. A new thread is going up in pleat number one. One cm under row number two. And make a stitch with pleat one and two.
And down inside the fabric to row number four. And make a stitch with pleat number two and three. And then up inside pleat number three and make a stitch with pleat number three and four.
Be sure that all the layers of the edge lay together. Its possible to pull a little under the edge like this to get all the layers tightened together.
But just pull it with the needle, dont put the stitch down here...
Around, tightened, and back around twice. Follow the thread with your fingers, to make sure the ends up where you want them. Sometimes this happends...
Then I make another stitch on top of the two I already made. Make sure the drawstring is tightened now and then. Its easier to work if your pleats are tight.
When all four rows are done it should look something like this from the right side.
And something like this on the reverse side.

Now you can take the drawstrings out. We are going to place a lining on the reversed side of the smock. This makes it more firm, helping the smock to hold its shape. And hide the reverse side. Cut a piece of the same linen. Mine is 4,5 cm widh and 46,5 cm long. Fold the sides and the top in like this.
If your smock is long and you are going to attach it to a shorter lining its a good idea to measure where the middle is, so that your smock is getting even when attached. Now we dont need to do that. The lining is attached to the smock with whip stitches. On stitch in a pleat, one stitch in the lining. But leave the sides open. We are going to put ties in here.

And the bottom.
I put the whip stitches in each pleat. This makes them stay in place.

And we have a lining!
The ties are put in and the side is sewn together.
And this is how it look when this stage is done.
A just finished smock is among the most beautiful things I know.
Its not that easy to describe this as I thought. I think I have taken photos of all the steps and when sitting down at the computer to write pictures are still missing. If there is any step that you find difficult please contact me and I will try to help you. This apron will now be in my etsy-store.


Inga kommentarer:
Skicka en kommentar